Interested in picking up our E46 intake system? Check out our product page for more information!
Mishimoto BMW E46 Performance Air Intake
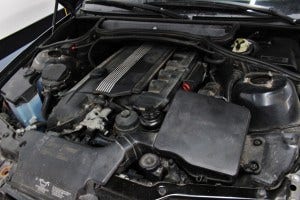
Stock E46 intake system
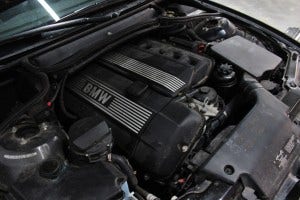
Stock E46 intake system
BLOG CATEGORIES

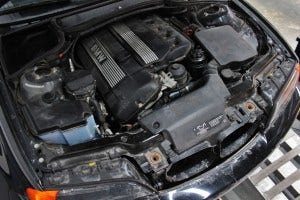
Stock E46 intake system


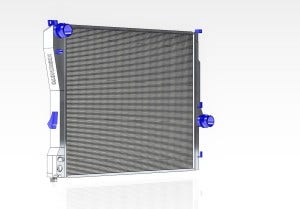
After some serious 3D modeling work in Solidworks, our first prototype unit is complete. Let's check out a few of the renders!
 " width="300" height="283">
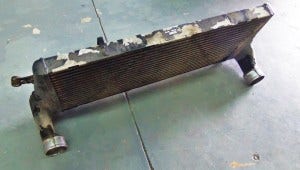
Cummins factory intercooler
The factory inlet/outlet portions of this intercooler are quite interesting. They are shaped to route around the radiator support; however, this has a significant impact on the airflow through this part of the cooler. This bottleneck cannot be eliminated unless users want to grab the Sawzall and shred some steel. We will be
Opening up the exhaust on a turbocharged vehicle is a great first modification that can make a big impact on drivability, vehicle sound, and driver enjoyment. Typically, a vehicle will see improvements in horsepower and massive gains in torque output. Emissions and sound requirements normally restrict the size and efficiency of stock exhaust systems, which explains why big gains result from enlarging the piping and eliminating or reducing restrictions within the piping.
For this project, we will focus our efforts on designing and testing a new downpipe option for the 2015+ Ford EcoBoost Mustang. Before tackling our downpipe design, we will take a look at the stock unit pulled from our Triple Yellow shop vehicle.
Time for the fun part of development, product testing! Since this is an intercooler, we would certainly need to put the WRX on the dyno for some pulls and data collection. It would be interesting to see how the installation of a front-mount system has an impact on turbo spool, intake temperatures, and perhaps even power output.
Testing Preparation
The first step toward data collection is to prepare our sensor bungs and install our pressure and temperature sensors. We installed our bungs within the inlet and outlet intercooler couplers.

After jumping into the diesel truck market a few years ago, Mishimoto designed and released an aluminum radiator engineered specifically for the Ford 6.4L. We identified a serious concern with stock radiator failure. Numerous enthusiasts on a variety of online boards were experiencing extremely frequent failures, with some folks replacing as many as 3 radiators within the first 60,000 miles. In fact, this issue in combination with others that plague the 6.4L were enough to make a few truck owners revert to the previous 6.0L or upgrade to the newer 6.7L, swearing off the 6.4L after repeated issues with their trucks.
Being experts within the automotive & diesel cooling world, we immediately saw an opportunity to provide a solution for this problem. Our engineers designed an aluminum replacement radiator which provided a far more rigid construction, full aluminum, and still incorporated all of the stock quick-disconnect fittings. Our initial investigation regarding the stock
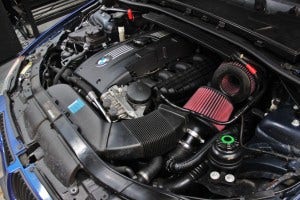
After evaluating the design of our first prototype and performing some additional research regarding customer needs, we were prepared to fabricate a second prototype. As noted toward the end of our last post, we would be relocating our catch can for easier servicing, and we would also be designing a new catch can lid to accommodate the larger ports for the N54 CCV system.
A teaser in our last post revealed the plans
Enthusiast groups' feedback plays a massive role in our product development process. Not only is it a great way to bounce ideas off our potential customers, but it also allows us to see exactly what our customers want and need for their vehicles. This project is no different. Due to a substantial amount of demand via forums and social media, we decided it was time to get the ball rolling on this coolant expansion project.
Stock Expansion Tank
In typical BMW fashion, this tank was quite unique and featured some very interesting components, both internally and externally. First, a look at the exterior of the tank. Many of you are very familiar with this, based on the rate of failure reported for this plastic tank.

Prototype Modeling
Now that we had a core that was functioning to our standards, it was time to finalize our end tank design and make 3D models to reflect our plans. After some lengthy modeling work, we came up with the renders you see below!


Now that we had our initial shroud prototype prepared for testing, we installed it on the stock radiator and the Mishimoto aluminum radiator. We wanted to ensure that it fit perfectly and that it enclosed the full length and height of both radiator cores. Once complete, it was time to test the shroud within the engine bays of our test vehicles.