Subaru WRX Front-Mount Intercooler 2015+
-
Interested in picking up our 2015 WRX FMIC kit? Check out more details on our product page linked below!
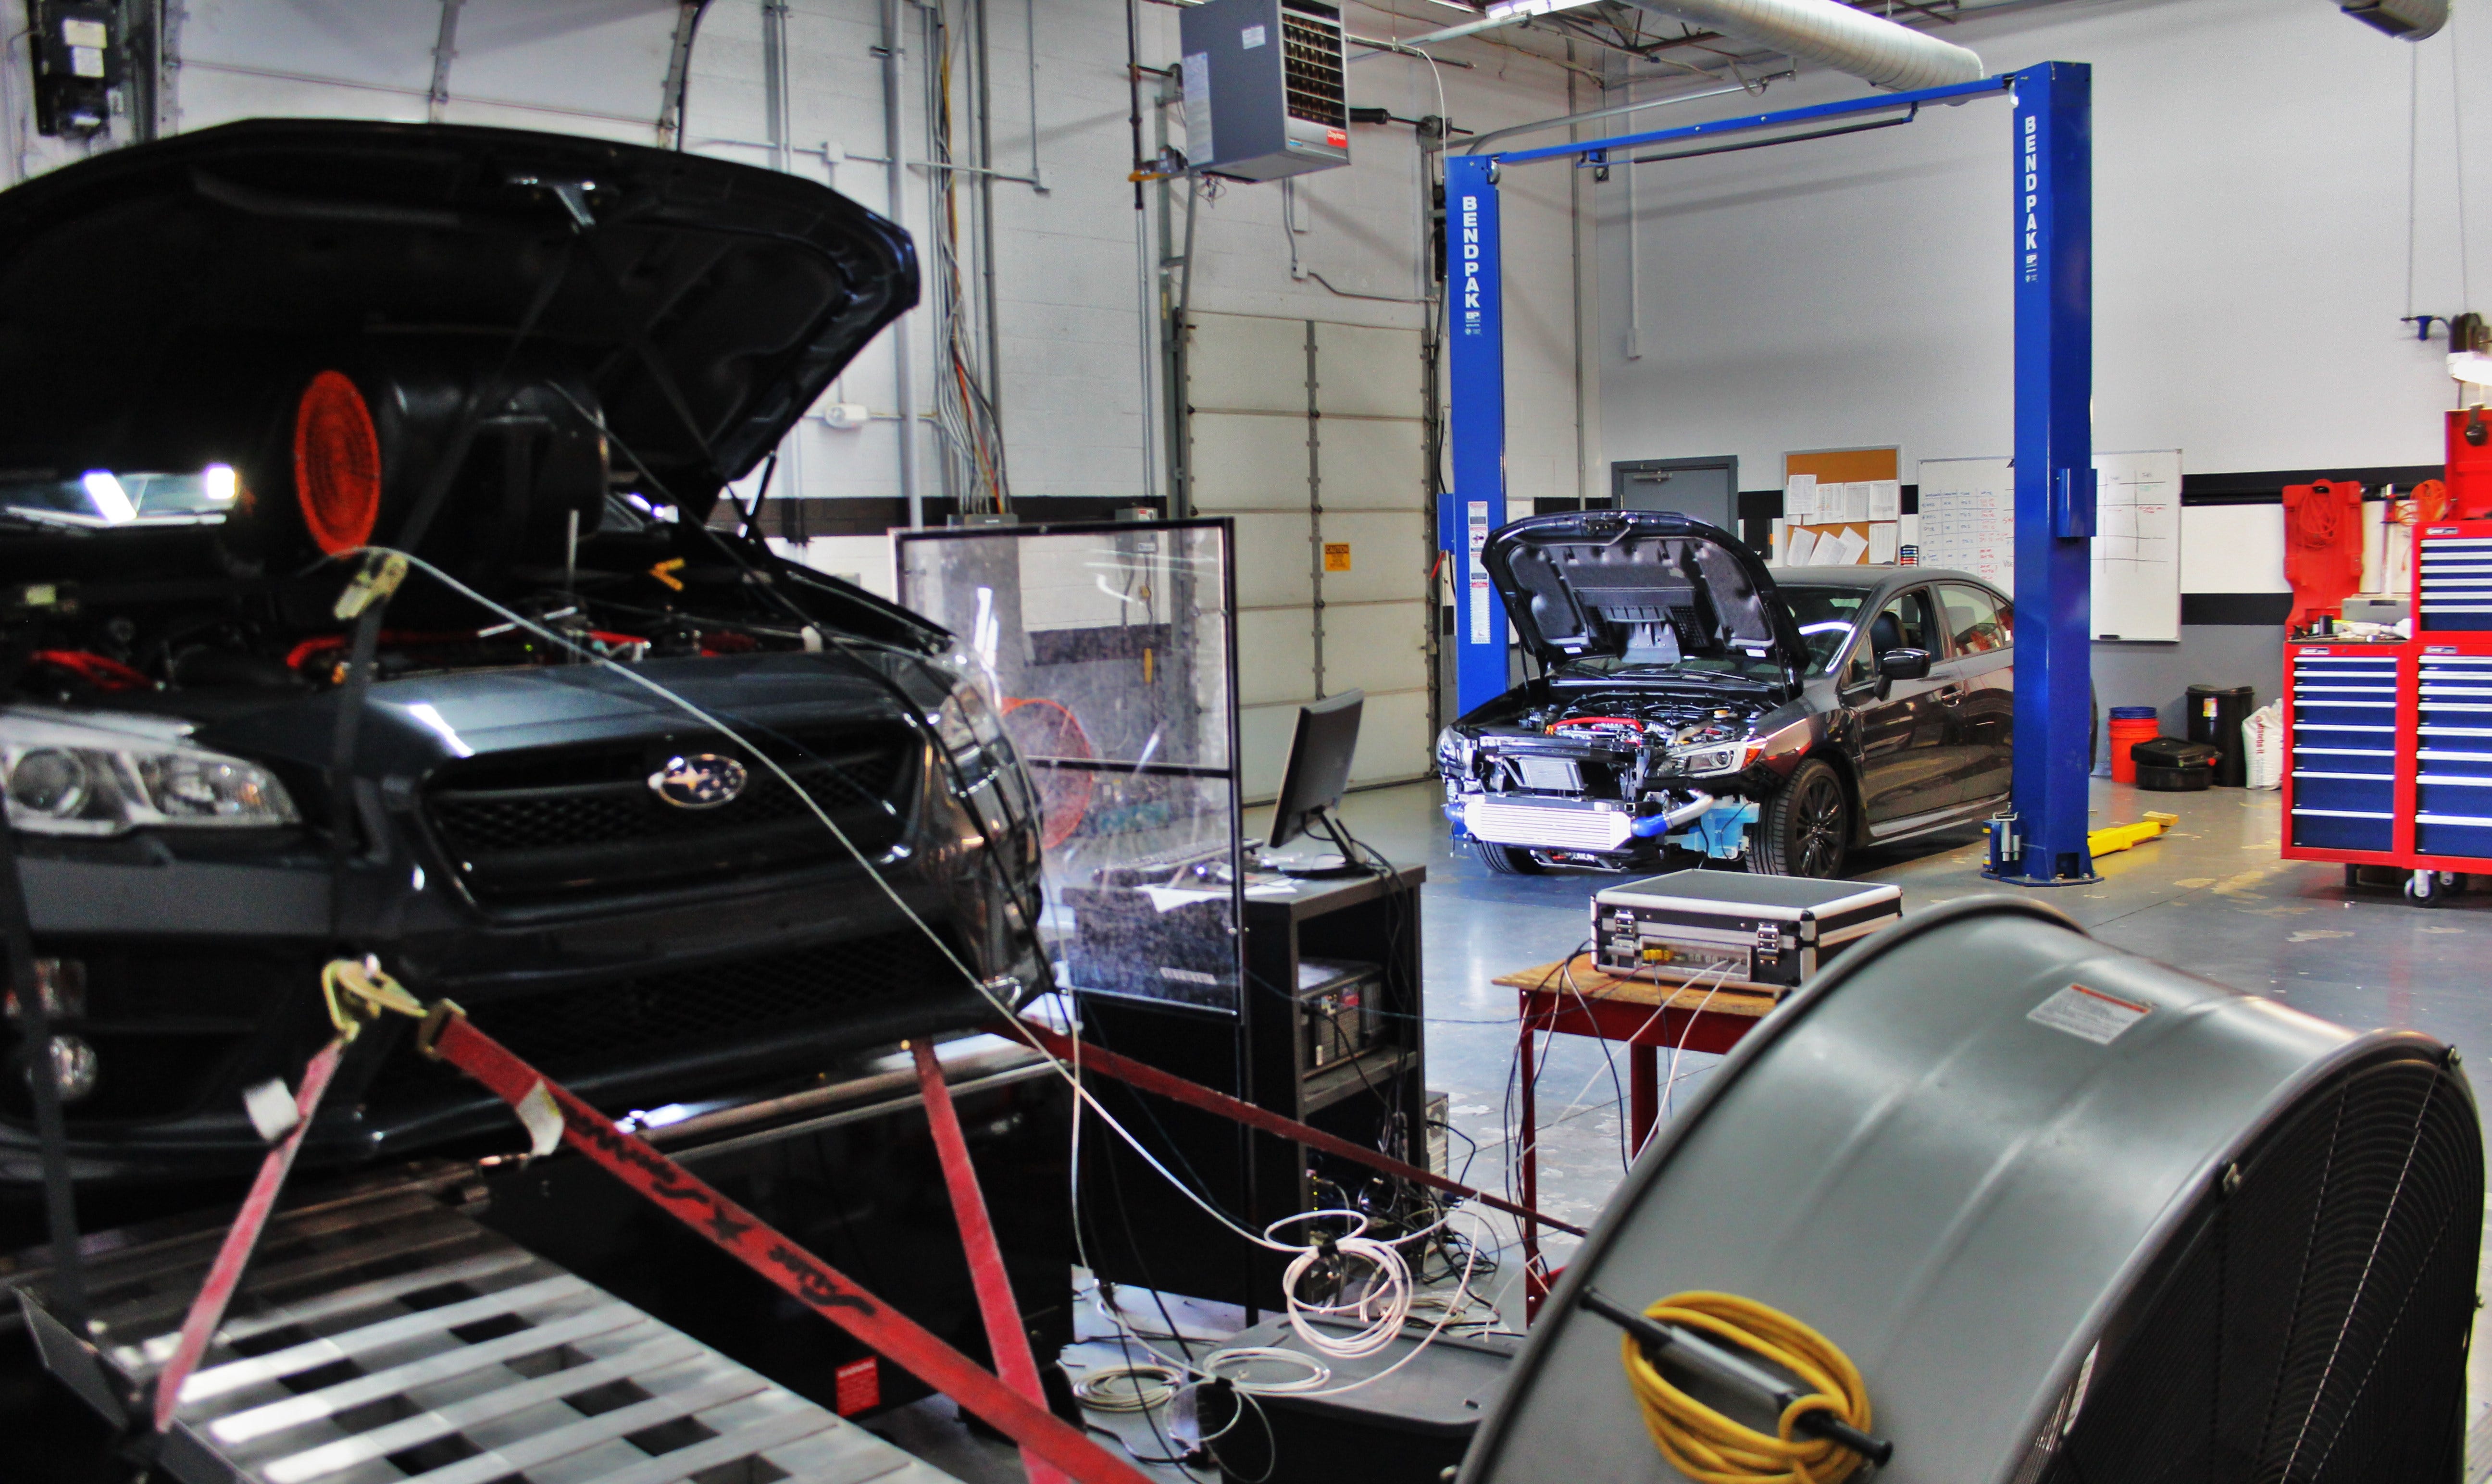
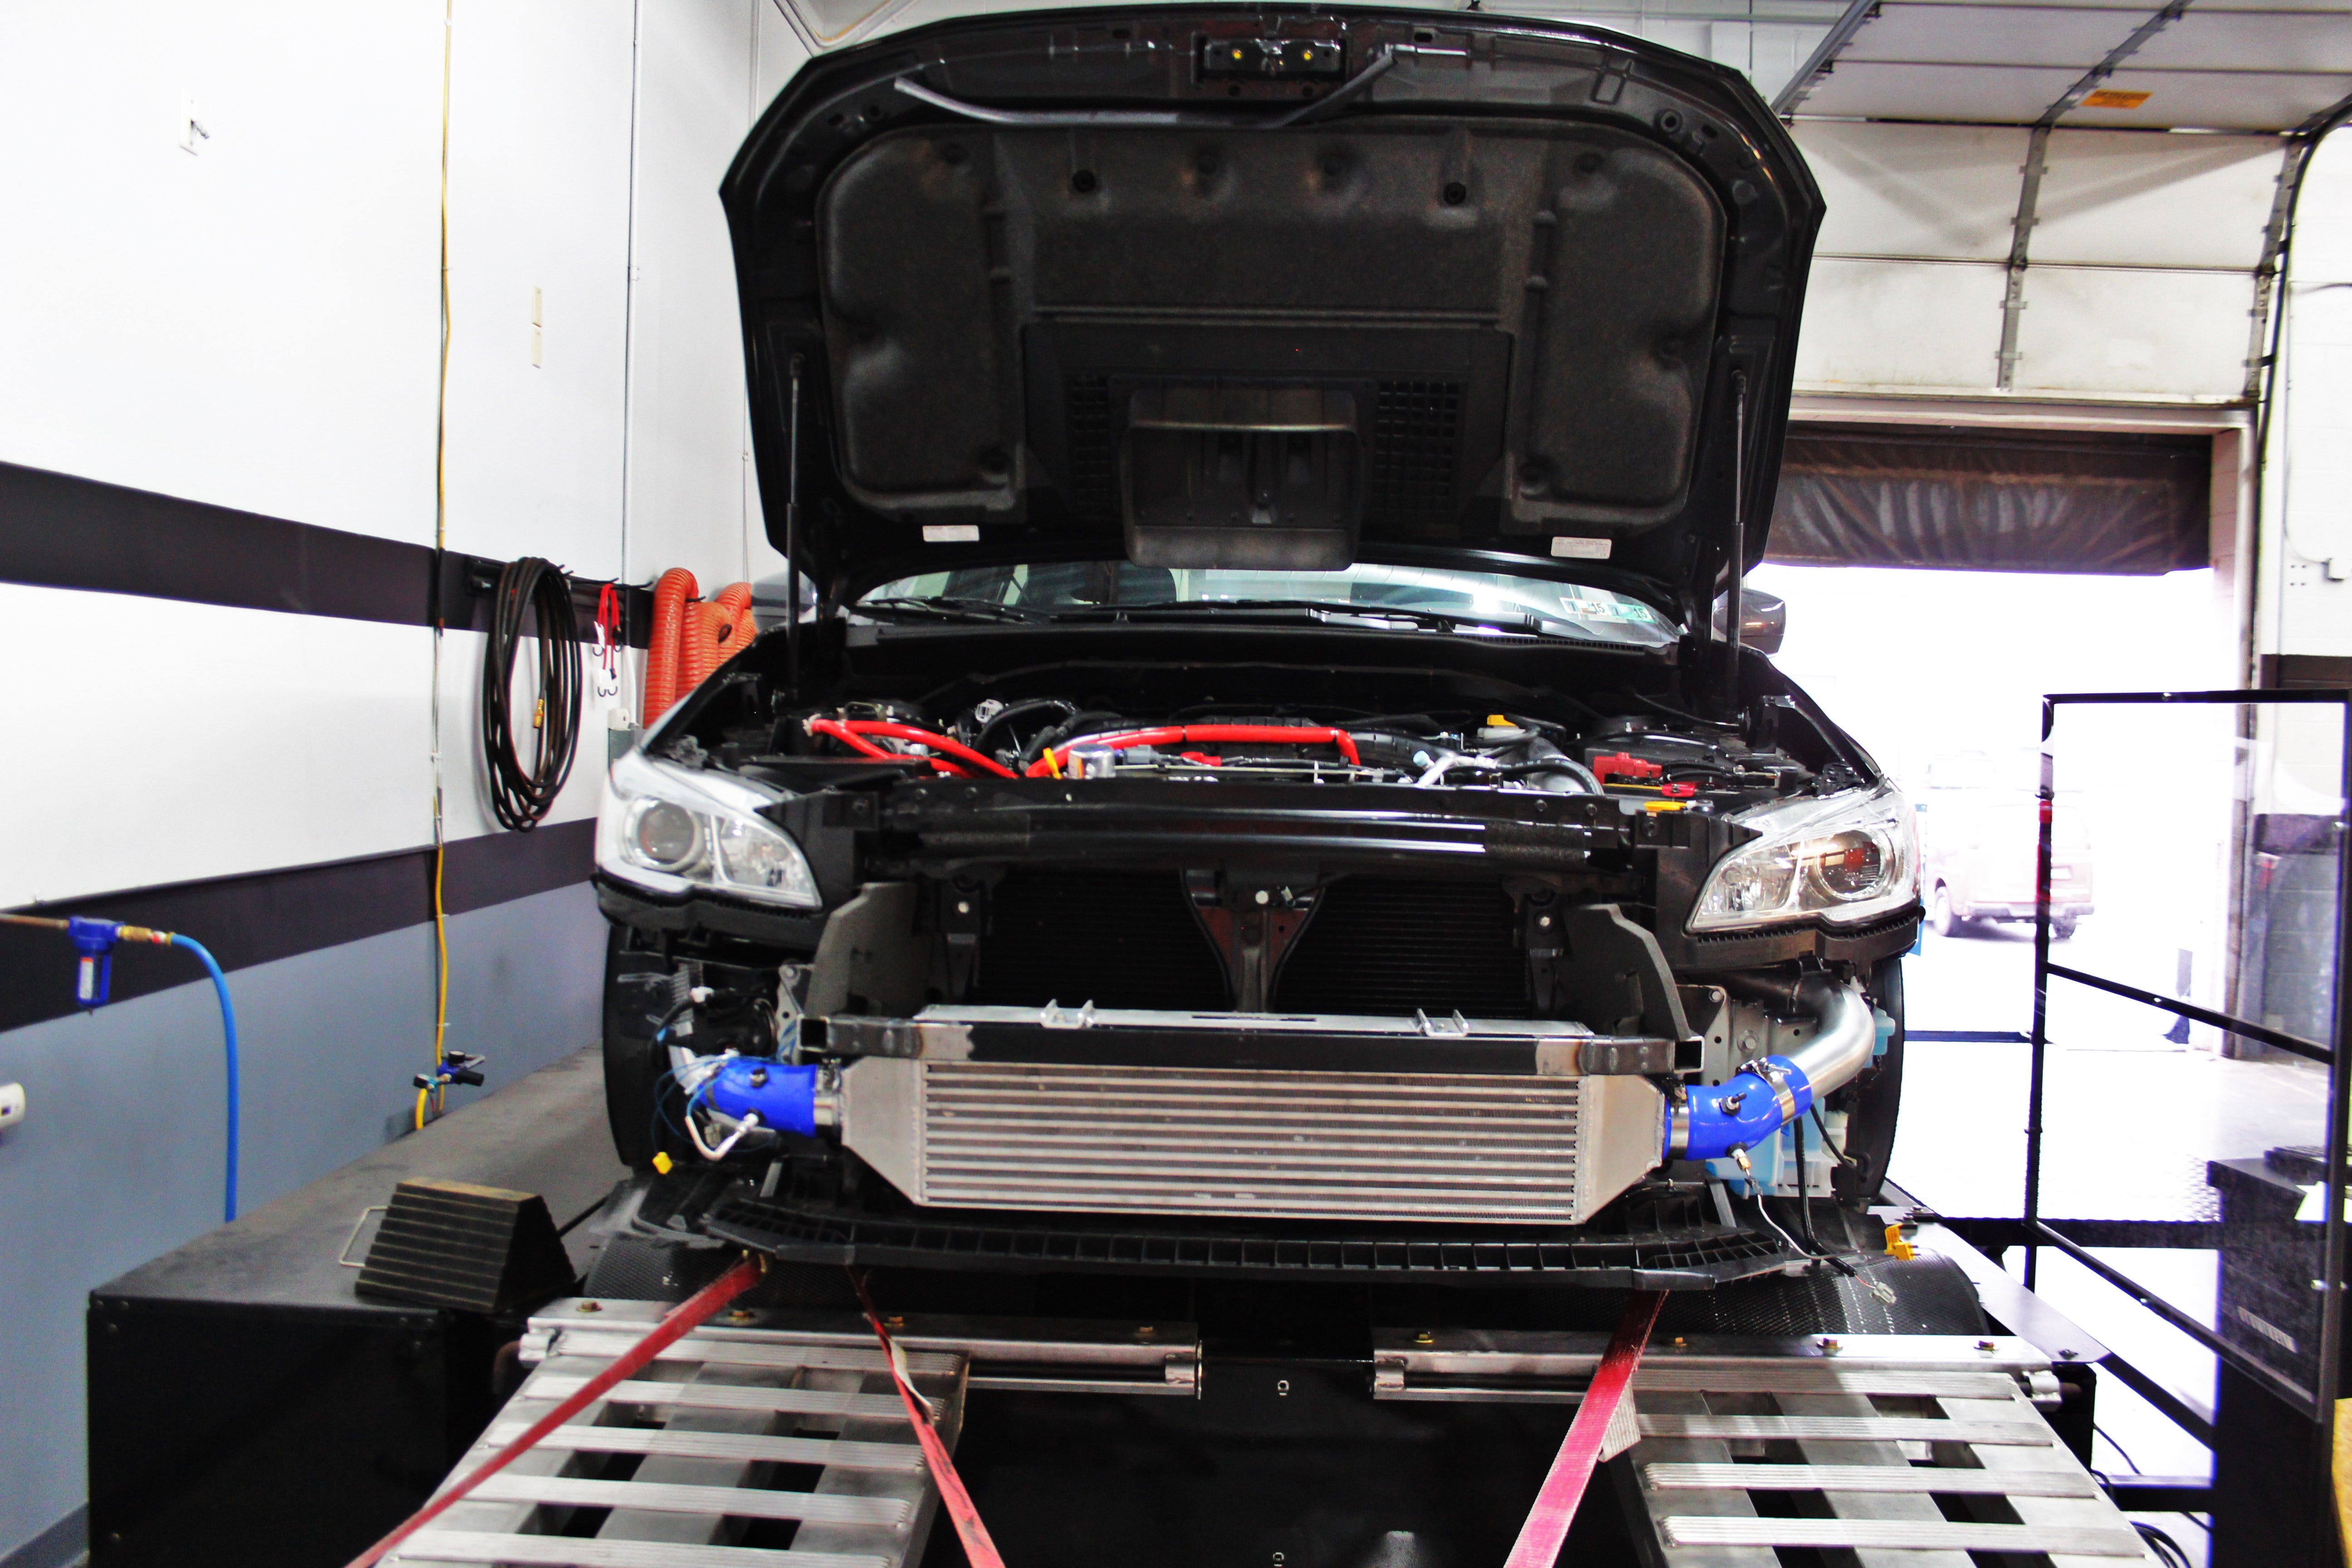
Time for the fun part of development, product testing! Since this is an intercooler, we would certainly need to put the WRX on the dyno for some pulls and data collection. It would be interesting to see how the installation of a front-mount system has an impact on turbo spool, intake temperatures, and perhaps even power output.
Testing Preparation
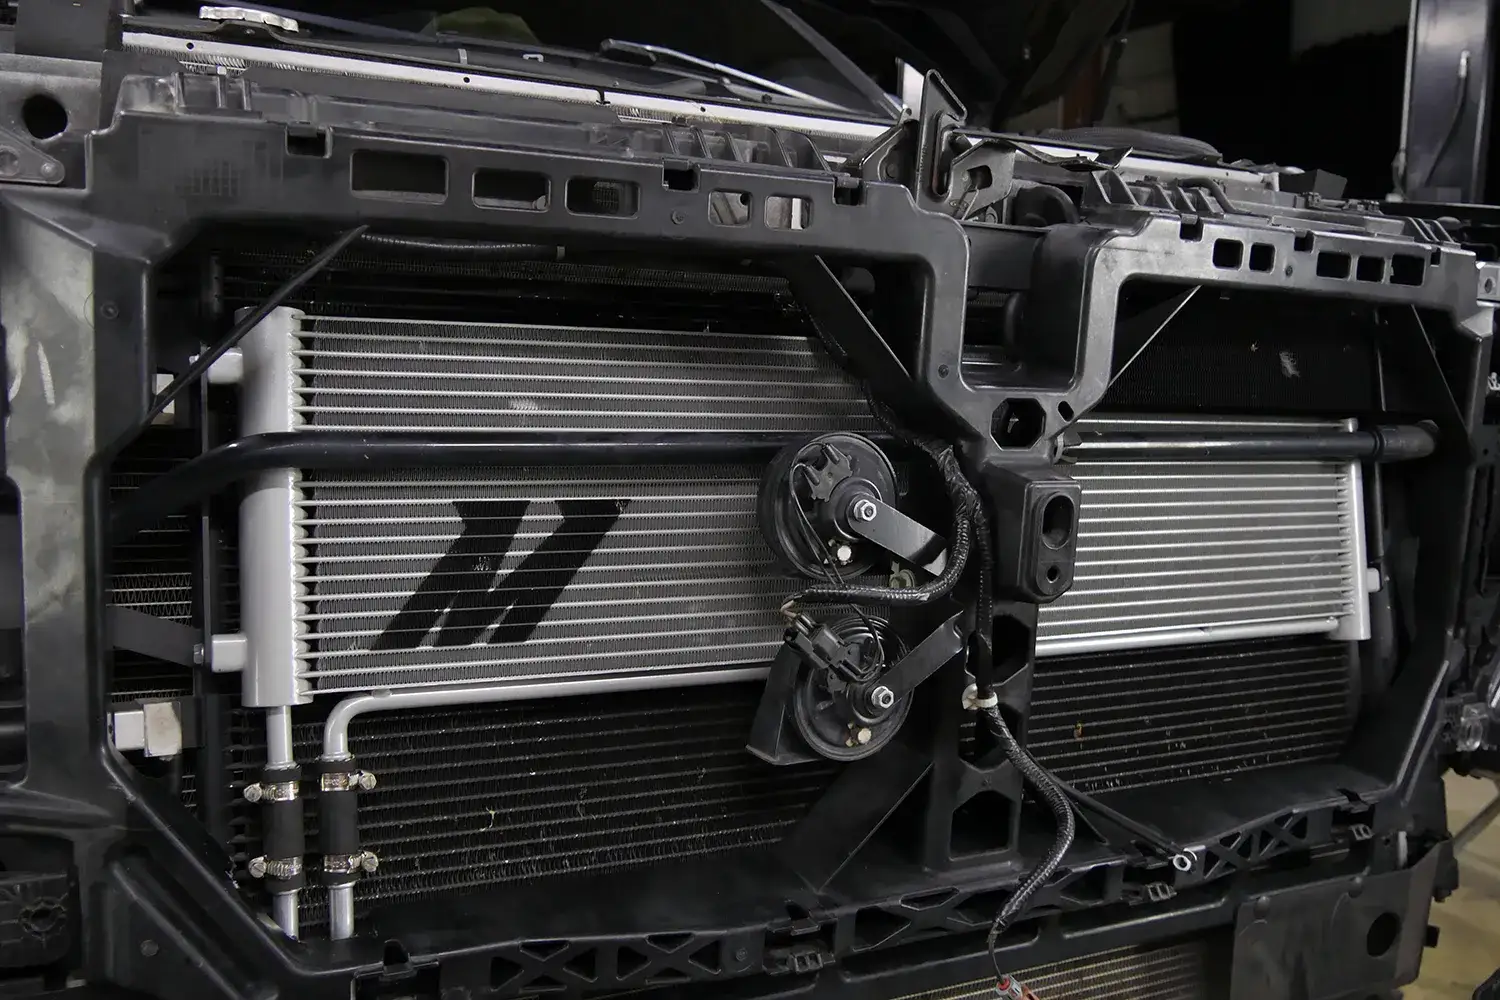
The first step toward data collection is to prepare our sensor bungs and install our pressure and temperature sensors. We installed our bungs within the inlet and outlet intercooler couplers.

Sensor bungs installed for dyno testing

Sensor bungs installed for dyno testing

Sensor bungs installed for dyno testing
Dyno Testing
Once complete we strapped the WRX to the dyno and started making our pulls! Check out the images and video from our tests!

Front-mount intercooler dyno testing

Front-mount
Continue Reading »
-
Interested in picking up our 2015 WRX FMIC kit? Check out more details on our product page linked below!

Front-mount intercooler installed
In the last portion of this series we completed the fabrication of our prototype intercooler core and tanks, as well as our new bumper beam. We now had everything in place to construct a piping kit that would route air from the turbocharger to the intercooler and back to the engine.
Hot-Side Piping
We started our piping with the hot-side of the intercooler system. The stock compressor housing uses a two-bolt flange connection, similar to what you would see on a 2008-2014 WRX. As you probably know, the FA20 turbocharger is on the lower front area of the engine, essentially right below the drive belt system. Because of this, our piping for the hot-side would be significantly shorter compared to the traditional turbo location featured on the EJ engine.
We started by 3D printing the flange that connects to
Continue Reading »
-
Interested in picking up our 2015 WRX FMIC kit? Check out more details on our product page linked below!
Crash Beam Fabrication
After an unsuccessful test fit of our existing bumper beam on the 15', we started from scratch to create a beam specific for the 15' chassis. First we hacked off the end tanks of our cooler so we were left with a bare core. This would provide some freedom to design our crash beam and later work on the end tank direction. Next we cut out some new mounting plates and fit them into position.

Intercooler crash beam mounting plates

Intercooler crash beam mounting plates
Next we fabricated a beam for mounting the cooler. The beam would run parallel across the front of the vehicle and attach to each mounting plate.

Intercooler crash beam fabrication

Intercooler crash beam fabrication

Intercooler crash beam fabrication
We then added the connector legs to attach this beam to the mounting plates. After a few tweaks, this guy
Continue Reading »
-
Interested in picking up our 2015 WRX FMIC kit? Check out more details on our product page linked below!

15' WRX testing
Already outgrowing the efficiency of your 15' WRX top-mount intercooler setup? Planning for some big power in the near future? Sounds like your Subie needs an efficient front-mount intercooler (FMIC)! Luckily, our team has been working to develop this product for months. Check out the process below!
Intercooler Design
Our team decided to start this product with the design of the actual heat exchanger. We would need to address the core, end tanks and how we would mount this cooler to the vehicle. In addition, this cooler would need to slip behind the front bumper with very minimal trimming needed.
Our first interest was in the mounting of the crash beam. As with our previous-generation kit, we would need to replace the stock front crash beam with a new unit to allow space for the intercooler. So we started by removing the
Continue Reading »