Posted:
December 30, 2015
Categories:
2016 Chevrolet Camaro SS Vehicle Review
The second segment of our video review series is up! In this video, we take you on some local back roads to test out the impressive handling characteristics of the SS. This includes:
-Overall Handling Impressions
-Steering Feel
-Tire Performance
-Electronic Rev-Match Function
-Highway Manners
Check it out!
Our next video covers some of the neat interior features found on the SS!
Thanks for watching!
-John

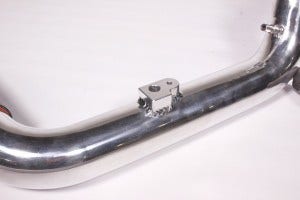


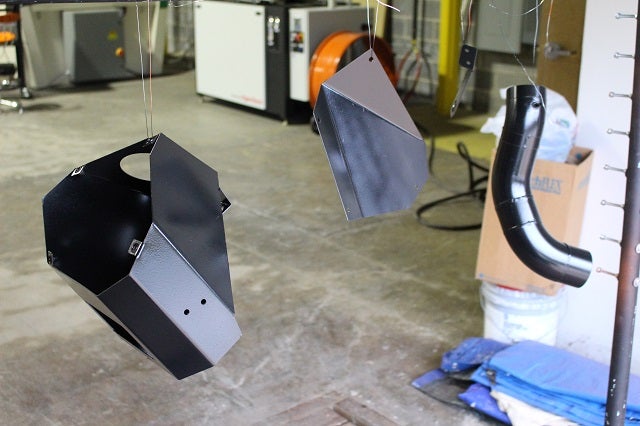


 Prototype E46 intake ready for the dyno
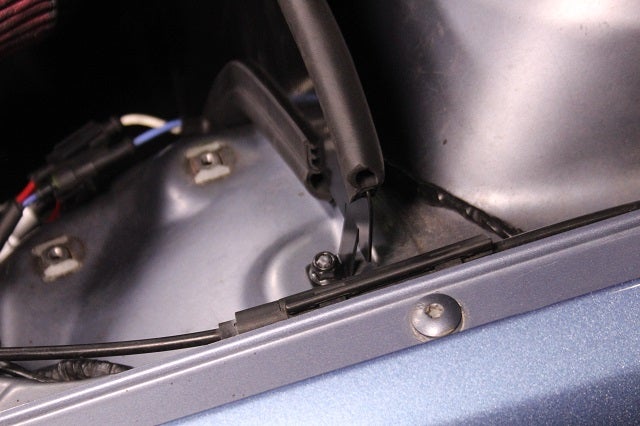 E46 parts fitment
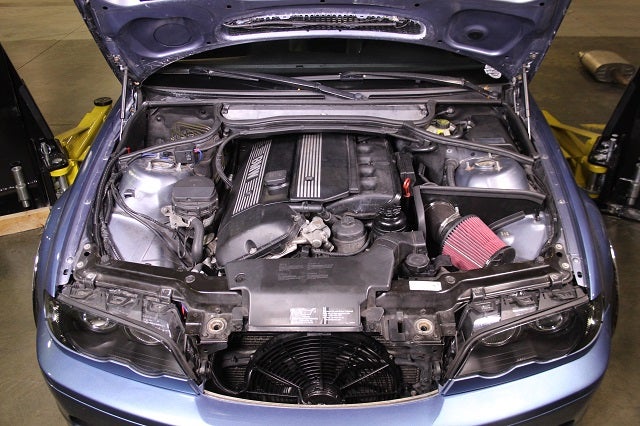


 " width="300" height="200">