BLOG CATEGORIES

Page 7 - intercooler

  1. Beat The Heat! Mishimoto Fiesta ST Intercooler R&D, Part 5: Second Prototype Fabrication

    Beat The Heat! Mishimoto Fiesta ST Intercooler R&D, Part 5: Second Prototype Fabrication

    Our quest for the perfect intercooler core continues! So far we've perfected the fitment and size of our intercooler core. Our final task is to adjust internal fin composition to create a perfect blend of pressure retention and temperature benefits.

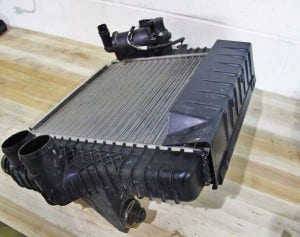
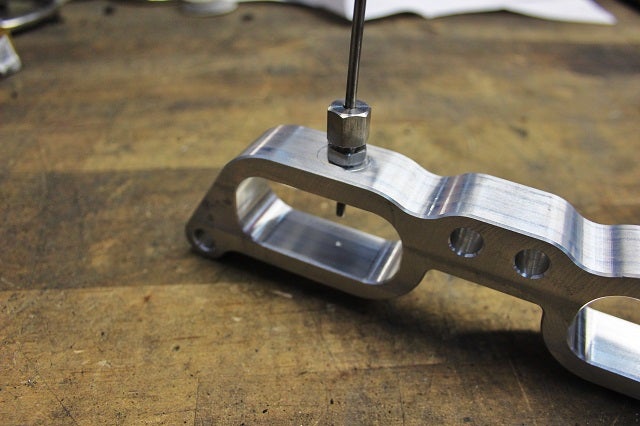
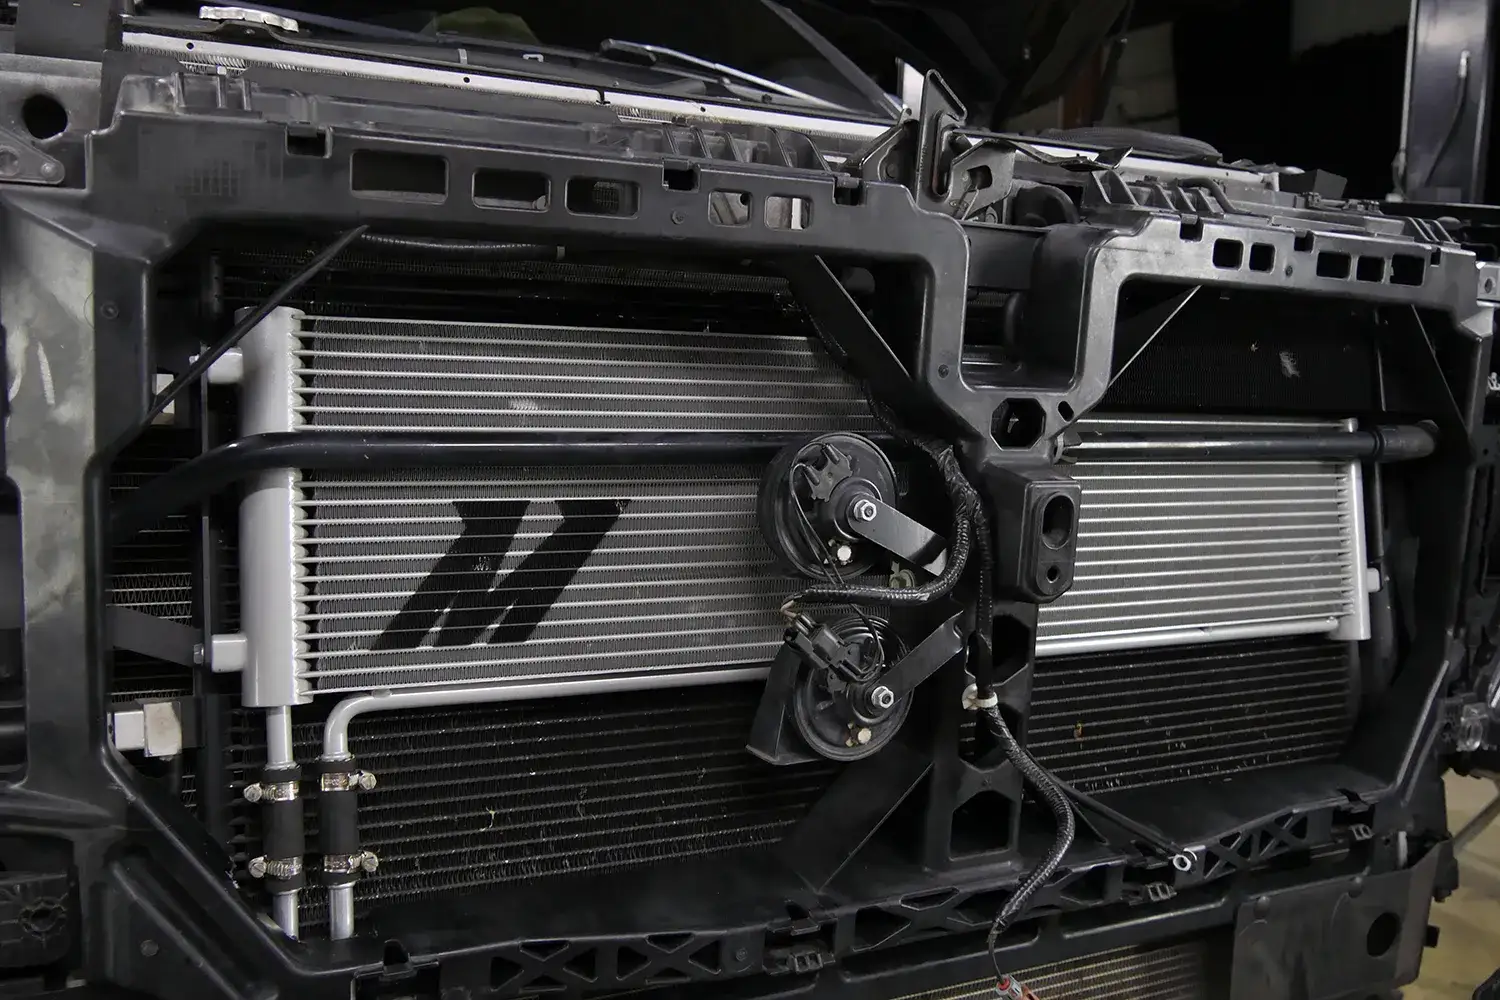
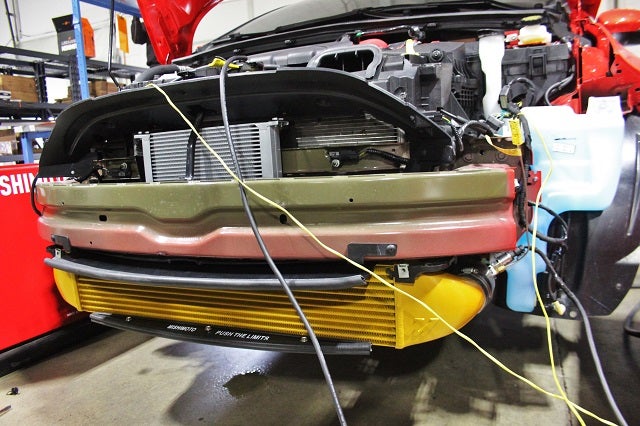
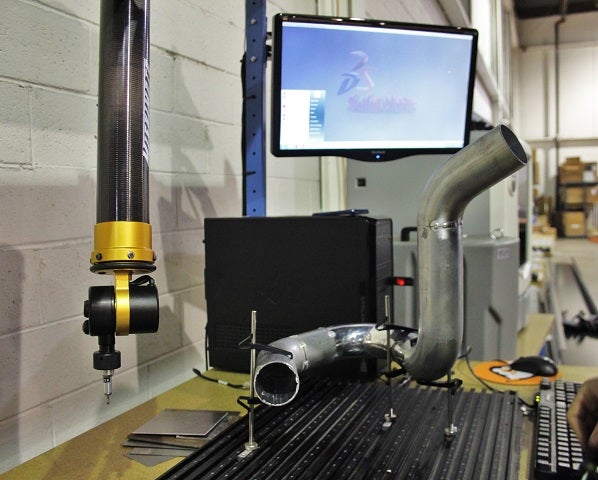
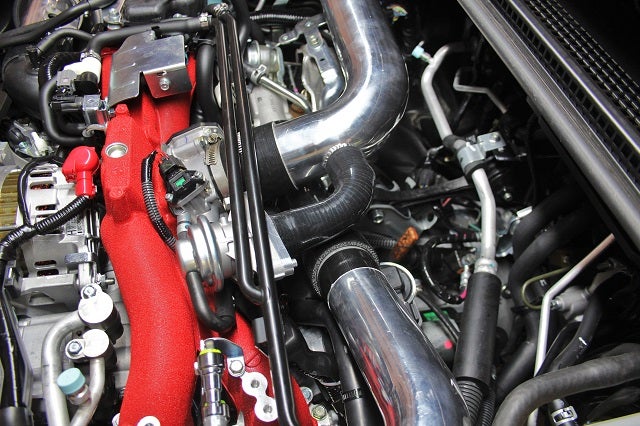
    Prototype Ford Fiesta ST Intercooler Fabrication

    Timing is a bit of a concern for us at this time. This project has been lengthy, but it will be worth the effort and time when we know our best efforts have been captured in our final product.

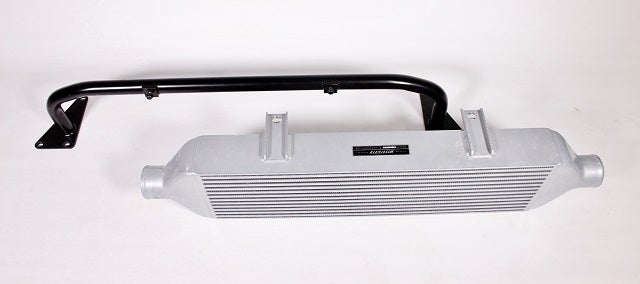
    Our final version of this intercooler will likely feature a tube-and-fin core. The benefits of weight and airflow are too important to ignore, not to mention the temperature drops we are seeing with a strategically designed internal core.

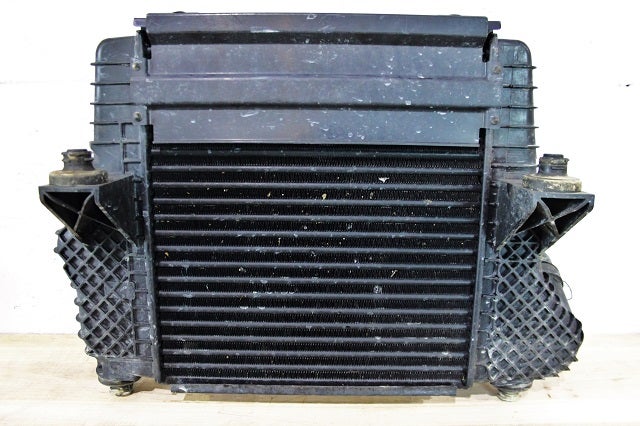
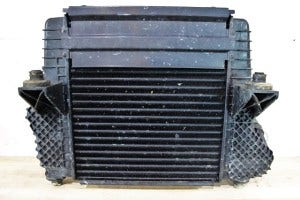
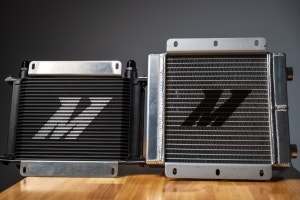
    For our team, the creation of a bar-and-plate cooler is a much quicker process. We've found that pressure drop between the two core types is similar if fin style, density, or both are the same. So for this test, we are using two bar-and-plate

    Continue Reading »
  2. A Front-Mount for the 2015 STi, Part 4: Final Prototype Fitting

    A Front-Mount for the 2015 STi, Part 4: Final Prototype Fitting

    Putting together our final prototype was a bit easier for this project compared to other front-mount intercooler (FMIC) kits our team has developed. As mentioned in previous segments, we used the crash beam and intercooler from our 2015 WRX kit. Now we've worked up some functional prototype piping for a final test fit.

    First, let's take a quick look at each portion of the kit.

    Intercooler and Crash Beam

    The intercooler core is the key component in any intercooler kit. This core has provided significant air temperature drops during our testing on the WRX, and we expect the same results with the STi.

    Mishimoto STi intercooler and crash beam
    Mishimoto STi intercooler and crash beam

    Continue Reading »
  3. Beat The Heat! Mishimoto Fiesta ST Intercooler R&D, Part 4: Initial Prototype Testing

    Beat The Heat! Mishimoto Fiesta ST Intercooler R&D, Part 4: Initial Prototype Testing

    The most exciting part of product R&D is always the testing phase. This typically includes setting up some neat sensors, running the car on the dyno or on the street, and crunching our data. We are anxious to see how our first prototype coolers perform on the Fiesta. Let's jump right into the plans for this first round of testing.

    Testing Plans

    As mentioned in the previous segment, we will test four different coolers.

    • Stock intercooler
    • Mishimoto bar-and-plate prototype 1 (larger internal bar height)
    • Mishimoto bar-and-plate prototype 2 (smaller internal bar height)
    • Mishimoto tube-and-fin prototype

    For each cooler we will be collecting data for temperature, pressure, and power output. Each cooler will be tested repeatedly until we have three consistent runs producing data as accurate as possible.

    Below is a look at the three different core types that will be tested.

    Continue Reading »
  4. A Front-Mount for the 2015 STI, Part 3: Hot-Side Intercooler Pipe Fabrication

    A Front-Mount for the 2015 STI, Part 3: Hot-Side Intercooler Pipe Fabrication

    With our cold-side piping complete, it was time to focus on the hot side. This portion of the piping system would require a bit more attention, mainly because we were unable to scavenge any existing pipes from our WRX/STI front-mount intercooler kits (as we did with the cold side). Let's get to it!

    Piping Fabrication

    The hot-side piping will route from the turbocharger compressor outlet, around the driver side of the engine bay, and into the front bumper area to attach to the intercooler.

    Here is a look at the turbocharger connection point.

    2015 STi front-mount intercooler hot-side pipe turbo connection
    2015 STi front-mount intercooler hot-side pipe turbo connection

    A coupler attaches the pipe to the turbocharger.

    Continue Reading »
  5. Beat The Heat! Mishimoto Fiesta ST Intercooler R&D, Part 3: Completed Prototypes

    Beat The Heat! Mishimoto Fiesta ST Intercooler R&D, Part 3: Completed Prototypes

    We're back with another update! Our team has been busy constructing our functional Ford Fiesta ST (FIST) intercooler prototypes, putting a lot of work into the R&D design stages, and now we get to see if it pay off. Enough of the wait, lets jump right into some images of our five prototype coolers.

    Ford Fiesta ST intercooler prototypes
    Ford Fiesta ST intercooler prototypes

    Ford Fiesta ST intercooler prototypes
    Ford Fiesta ST intercooler prototypes

    Continue Reading »
  6. A Front-Mount for the 2015 STI, Part 2: Cold-Side Intercooler Pipe Fabrication

    A Front-Mount for the 2015 STI, Part 2: Cold-Side Intercooler Pipe Fabrication

    Our first segment of this STI intercooler project involved the test fitting of our WRX crash beam and intercooler core. We were able to verify fitment of both pieces, which allowed our team to move on to piping fabrication. We are starting this kit with the cold-side pipe, which we've decided to place this on the passenger side of the engine bay to reduce the piping length as much as possible. Following this strategy should help reduce lag seen by the driver.

    Pipe Fabrication

    The cold-side pipe is a great place to start because we are able to use a portion of one of our existing kits. Because the 2015 model shares the EJ from the 2008+, we will be reusing the pipe that attaches to the throttle body and incorporates the BPV (bypass valve).

    2015 STI front-mount</body> " width="300" height="180">
    Continue Reading »
  7. Cool Air for the EcoBoost. F-150 Intercooler R&D, Part 2: Initial Design Work

    Cool Air for the EcoBoost. F-150 Intercooler R&D, Part 2: Initial Design Work

    After taking a brief look at the factory cooler and components, we needed to begin the design for our counterpart. This will involve the use of both modern and conventional tools to ensure that our prototype meets all our requirements.

    Factory Intercooler Features

    Factory F150 intercooler
    Factory F150 intercooler

    The factory intercooler pulled from our test vehicle came with the upper shroud that Ford had added to help prevent condensation issues. It also included a couple mounting pegs which use grommets for isolation.

    Continue Reading »
  8. Power through Deletion. 2015 WRX TGV Delete Kit, Part 4: Product Testing

    Power through Deletion. 2015 WRX TGV Delete Kit, Part 4: Product Testing

    We've got some interesting plans to evaluate the performance benefits of our TGV delete kit. In addition, we want to evaluate any appreciable differences in terms of air temperature between the two materials (aluminum and Delrin) we have selected for our prototypes.

    Test Preparation

    For our first assessment, we will evaluate airflow temperatures in both materials during dyno testing. The goal here is to determine whether the different heat transfer properties of the two materials have an impact on the airflow within the TGV unit. Ideally we would use pre-TGV and post-TGV sensors to evaluate this, but for our initial test a single sensor will be used.

    We started by drilling and tapping each prototype.

    Initial Data

    We put together several plots to help analyze the data from our dyno pulls so we could reach a conclusion regarding appreciable temperature differences. First, a look at our initial runs with each material on

    Continue Reading »
  9. Power through Deletion. 2015 WRX TGV Delete Kit, Part 3: First Prototypes

    Power through Deletion. 2015 WRX TGV Delete Kit, Part 3: First Prototypes

    We're back with another quick update on our TGV delete project for the 2015+ WRX. After designing our initial models and then 3D-printing a prototype for test fitting, we worked up a couple functional prototypes for on-car testing.

    First Prototype Images

    Check out a few images of our functional prototype deletes!

    Mishimoto's 2015 WRX TGV delete prototypes

    Mishimoto's 2015 WRX TGV delete prototypes

    Mishimoto's 2015 WRX TGV delete prototypes

    Mishimoto's 2015 WRX TGV delete
    Continue Reading »
  10. Power Through Deletion. 2015 WRX TGV Delete Kit, Part 2: 3D-Printed Prototype Test Fit

    Power Through Deletion. 2015 WRX TGV Delete Kit, Part 2: 3D-Printed Prototype Test Fit

    3D-Printed Prototypes

    To confirm the dimensions and design of our prototype, we decided to utilize some of our rapid prototyping tools. We fired up our 3D printer and loaded the model. Check out a couple images showing the progress of the print.

    3D-printing 2015 WRX parts
    3D-printing 2015 WRX parts

    3D-printing 2015 WRX parts
    3D-printing 2015 WRX parts

    Once the printing process was complete, we cleaned up the prototypes and installed them on our 2015 WRX to verify fitment.

    Continue Reading »